

Blog
Back to School SVG Cut Files for Cricut: Free Teacher Designs

Remember the year you stayed up until midnight cutting out 28 individual pencil shapes from cardstock because you thought it would be “quick and easy”? Your fingers hurt, your cutting mat was ruined, and the teacher barely had time to glance at the gift before first bell rang. If that sounds painfully familiar, you are absolutely not alone — and that is exactly why back to school SVG cut files for Cricut have completely changed the game for crafters, teachers, and school-supply gifters everywhere.
Whether you are a teacher decorating your own classroom, a parent making personalized pencil pouches, or an Etsy seller stocking up for the August rush, the right SVG files can turn a stressful project into a genuinely fun afternoon. In this post, we are rounding up the best free teacher SVG designs, walking you through how to use them in Cricut Design Space, and sharing the exact settings and materials that make every cut come out crisp.
Let’s skip the cardstock carnage and get straight to the good stuff.
What Makes a Great Back to School SVG Design
Not all SVG files are created equal — especially when you are cutting dozens of them for a classroom set or a bulk Etsy order. A high-quality back to school SVG cut file for Cricut should check several boxes before you even open Cricut Design Space.
Here is what to look for:
- Clean anchor points: Fewer nodes mean smoother cuts and less blade drag on delicate details like pencil tips or apple stems.
- Separate layers: A well-built SVG keeps each color on its own layer so you can cut HTV, cardstock, or vinyl one layer at a time without manual ungrouping.
- Scalable without distortion: Good SVG files resize from 1 inch (for sticker sheets) to 12 inches (for tote bags) without jagged edges.
- Commercial use license included: If you plan to sell finished products, always confirm the license. Every design at BundleArtSVG includes a commercial use license — no extra fees, no surprises.
- Compatible file formats: Look for SVG plus DXF (for Silhouette users) and PNG (for sublimation or print-then-cut projects).
Popular back to school themes that sell and gift well include:
- Pencils, rulers, and crayons
- Apples and chalkboards (classic teacher appreciation staples)
- “First Day of School” signs with grade-level blanks
- School bus and backpack silhouettes
- Subject-specific designs: math equations, ABCs, musical notes
- Teacher quotes: “She believed she could, so she did” and “Teach Love Inspire”
- Grade-level milestone shirts: “Hello Kindergarten,” “Last Day of 5th Grade”
You can browse thousands of ready-to-cut options in our full SVG files for Cricut collection — new designs are added every single week, so the back to school section grows right alongside the school calendar.
Step-by-Step: Using Back to School SVG Cut Files in Cricut Design Space
If you are new to uploading SVG files, this section is for you. Even experienced crafters sometimes run into snags with layered files, so walk through these steps every time you start a new back to school project.
Step 1: Download and Unzip Your SVG File
After purchasing or downloading a free back to school SVG cut file for Cricut, your file will arrive as a ZIP folder. You must unzip it before Cricut Design Space can read it — Design Space cannot open a ZIP file directly.
- On a PC, right-click the ZIP folder and choose “Extract All.” Save it to a dedicated “SVG Projects” folder on your desktop so you can find it easily.
- On a Mac, double-click the ZIP and it extracts automatically to the same location.
- On an iPad or iPhone, use the Files app and tap the ZIP — it will create a new folder with all files inside.
- Look inside the unzipped folder for an SVG file (for Cricut), a DXF file (for Silhouette), and a PNG file (for print-then-cut or sublimation).
Step 2: Upload the SVG into Cricut Design Space
Open Cricut Design Space and start a new project. Click “Upload” in the left-hand panel, then “Upload Image,” and locate your SVG file. Design Space will automatically recognize it as a multi-layer cut file — you do not need to trace or adjust anything for a properly built SVG.
- Click the uploaded file thumbnail and then “Add to Canvas” to place it on your cutting mat preview.
- If the design appears as a single flat image instead of separate layers, the file may have been saved as a PNG accidentally — double-check that you selected the .svg file, not the .png.
- Use the lock icon in the size panel to resize proportionally. For a standard teacher tote bag, 8–10 inches wide works well. For a pencil pouch, 4–5 inches is ideal.
- Zoom in to 200% in Design Space to check that fine details like letter serifs and pencil tip lines are clean before cutting.
Step 3: Set Your Material and Blade Settings
Choosing the right material setting in Design Space is the single biggest factor in whether your cut comes out crisp or ragged. Back to school projects typically use one of three materials — here are the exact settings that work best for each.
- Smooth HTV (iron-on) for shirts and tote bags: Use the “Everyday Iron-On” setting on Cricut Explore or “Iron-On” on Cricut Maker. Mirror your design before cutting. Pressure: Default. Speed: Default.
- Glitter HTV for festive teacher Gifts & Labels”>Gifts“>gifts: Select “Glitter Iron-On” setting. Increase pressure to “More” for a clean cut through the thicker carrier sheet. Always do a test cut first.
- Cardstock for first-day-of-school signs and layered cards: Use “Cardstock – For Intricate Cuts” (65 lb recommended). Set blade to Fine-Point. Pressure: Default or More depending on your blade age.
- Permanent vinyl for water bottles and lunchboxes: Use “Vinyl+” or “Premium Vinyl – Permanent” setting. Weed carefully using a bright light box to see cut lines on dark vinyl.
Step 4: Cut, Weed, and Apply Your Design
Once Design Space sends the job to your Cricut machine, the real magic happens. For back to school SVG projects, the weeding and application steps are where beginners most often run into trouble — here is how to nail them every time.
- Weeding HTV: Start from a corner and peel back the carrier sheet at a 45-degree angle, not straight up. Use a weeding hook to lift tiny pieces like the inside of letter O’s and A’s.
- Applying HTV with an EasyPress: Preheat your fabric for 5 seconds to remove moisture. Apply firm, even pressure at 315°F for 30 seconds for Everyday Iron-On. Peel the carrier sheet warm (not hot or cold) for cleanest results.
- Applying vinyl to hard surfaces: Clean the surface with rubbing alcohol first. Use transfer tape to move the design from the vinyl backing to your surface. Burnish with a scraper tool, then slowly peel the transfer tape at a low angle.
- Layered cardstock assembly: Use a bone folder to score fold lines before assembling. Apply foam adhesive squares between layers for a 3D effect on teacher appreciation cards — this takes a flat design from cute to stunning.
Best Materials for Teacher Appreciation and Classroom Projects
The material you choose determines how long your back to school project will last and how professional it looks. Here is a quick material guide matched to the most popular teacher and classroom project types.
For wearable projects (shirts, tote bags, aprons):
- Everyday Smooth HTV — best for simple designs on cotton or poly-cotton blends
- Glitter HTV — perfect for “Teacher of the Year” or “Best Teacher Ever” designs; adds sparkle without sublimation equipment
- Patterned HTV — great for back to school themes like plaid or polka dots on letter cut-outs
For hard surface projects (mugs, tumblers, water bottles, lunchboxes):
- Permanent adhesive vinyl (Oracal 651 equivalent) — dishwasher safe on the top rack when applied correctly
- Holographic vinyl — gives pencil and star designs an eye-catching shimmer
- Sublimation (with compatible blanks) — for a truly professional finish on mugs and tumblers
For paper and classroom decor projects:
- 65 lb cardstock — ideal for layered first-day-of-school signs, gift tags, and bulletin board decorations
- Kraft paper — gives a rustic, farmhouse-style look to classroom decor
- Adhesive-backed cardstock — skip the glue and assemble layered projects faster
Time estimate: A single-layer HTV shirt takes about 20 minutes start to finish (including unzipping, uploading, cutting, weeding, and pressing). A 3-layer cardstock teacher appreciation card takes about 35–45 minutes. A set of 5 personalized water bottles with vinyl designs takes about 90 minutes for a beginner, 45 minutes once you have done it a few times.
Free Teacher SVG Designs You Can Download Right Now
One of the best parts of the back to school crafting season is how generous the SVG community is with free designs. Here at BundleArtSVG, we keep a rotating collection of free downloads updated regularly — and they are genuinely free, not “free with purchase” or “free with email signup tricks.”
Head straight to our free SVG downloads page to grab no-cost designs you can use today. Here is what you will typically find in the back to school and teacher category:
- Apple for the Teacher SVG — a classic layered apple design with leaf and shine detail, perfect for HTV shirts and tote bags
- Pencil Name Frame SVG — a pencil-shaped frame where you can type any student or teacher name in Design Space
- Teach Love Inspire SVG — a popular teacher quote in a clean script font, sized for 10-oz tumblers
- First Day of School Photo Sign SVG — a chalkboard-style sign with grade-level and “what I want to be when I grow up” fill-in fields
- Back to School Banner SVG — individual letter pennant flags that spell out “BACK TO SCHOOL” for classroom or party decor
You can also explore our full Free SVG Files Collection for designs that go beyond back to school — we have holiday, seasonal, and everyday options that keep your Cricut busy all year long.
🎁 Get FREE Designs Today!
Expand your free file collection with even more no-cost SVG designs.
Top Back to School Project Ideas for Cricut Crafters
Now that you have your SVG files downloaded and your Cricut settings dialed in, let’s talk about what to actually make. These are the back to school projects that get the most love from our community of 27,000+ designs’ worth of crafters — and the ones that sell fastest on Etsy every August.
1. Personalized Teacher Tote Bags
A canvas tote with a teacher’s name and a cute apple or pencil design is one of the most appreciated gifts a parent can give. Use a 12 x 12 inch natural canvas tote, cut your HTV design at 8 inches wide, and press at 315°F for 30 seconds. Total material cost: about $4–6 per bag. Retail value on Etsy: $18–28.
2. First Day of School Milestone Shirts
Personalized “Hello, 2nd Grade!” shirts are a back to school staple that parents order every single year. Use a white or light-colored youth tee, cut your design in school-color HTV (navy, red, or green are perennial favorites), and size the design at 6 inches wide for toddler sizes up to 9 inches wide for youth large. These sell in sets of two (first day AND last day of school) for $35–50 on Etsy.
3. Teacher Appreciation Mugs
A 15-oz white ceramic mug with a “Fueled by Coffee and Dry-Erase Markers” design cut from permanent vinyl is a quick, low-cost gift that teachers genuinely use. Apply vinyl after cleaning with rubbing alcohol, burnish thoroughly, and recommend hand-washing to the recipient. Material cost: under $3. Sells for $12–18.
4. Classroom Door Signs
A layered cardstock sign with the teacher’s name and a “Welcome to Our Class” message is a gorgeous classroom decor piece. Use 3–4 layers of coordinating cardstock colors, assemble with foam adhesive squares for dimension, and laminate the finished piece for durability. These are popular on Etsy as digital downloads AND as finished products.
5. Student Bookmarks
Cut a set of 10–12 personalized bookmarks from cardstock using a simple pencil or ruler SVG shape. Add each student’s name using the text tool in Design Space. Laminate for durability. These take about 45 minutes for a full class set and cost under $5 in materials — a thoughtful back to school gift from teacher to student.
6. Lunchbox Labels and Water Bottle Decals
Permanent vinyl decals with a child’s name in a fun font are a practical back to school project parents come back for every year (especially after a dishwasher incident). Cut at 3–4 inches wide, apply to cleaned surfaces, and seal with a clear coat for extra longevity. A set of 3 labels (lunchbox, water bottle, and backpack tag) sells for $8–12 on Etsy.
Looking for font inspiration for any of these projects? Our 45 Elegant Fonts for Cricut bundle gives you a full alphabet library for just $0.99 — that is less than $0.022 per font, rated a perfect 5.00/5 stars by 25 happy crafters.
How to Sell Back to School SVG Projects on Etsy
If you are a crafter who wants to turn your Cricut hobby into income, back to school season is one of the most profitable times of year. The window is short — most parents and teachers shop from late July through the first week of September — so preparation is everything.
Here is how to set yourself up for a successful back to school Etsy season:
Start listing in June: Etsy’s search algorithm rewards listings that have been active longer. Get your back to school SVG cut file products and finished goods listed by mid-June so they have time to gain views and favorites before the buying rush in August.
Use exact search terms in your titles: Buyers search for very specific phrases like “personalized teacher tote bag Cricut” or “first day of school shirt SVG.” Include the grade level, material type, and occasion in every listing title.
Offer personalization: Listings that offer name personalization convert at significantly higher rates than generic designs. Use the “Personalization” field in Etsy listings and note your turnaround time clearly.
Bundle your listings: Offer a “Back to School Bundle” that includes a shirt, a water bottle decal, and a lunchbox label as a set. Bundles have a higher average order value and feel like more value to buyers.
Check your license: Every back to school SVG cut file you use for commercial sales must include a commercial use license. All designs from BundleArtSVG include this automatically — no need to upgrade or pay extra. This is a huge advantage over some free SVG sites that restrict commercial use.
For maximum design variety during the selling season, our bundles give you the broadest possible library at the lowest cost per file. The 500,000+ Ultimate SVG Mega Bundle works out to just $0.000059 per file — meaning you could cut 10,000 different back to school designs and still have spent less than a dollar on the files themselves.
500,000+ Ultimate SVG Mega Bundle
Only $29.99
4.96/5 stars from 26 reviews — the most complete SVG library for Cricut crafters. Just $0.000059 per file.
If you are not quite ready for the mega bundle, the 4000+ Magical Mega SVG Bundle is a fantastic starting point at just $7.99 — that is 4,000+ designs for $0.002 per file, rated a perfect 5.00/5 stars by 24 crafters.
4000+ Magical Mega SVG Bundle
Only $7.99
5.00/5 stars — 4,000+ designs for just $0.002 per file.
Both bundles are instant digital downloads — no waiting, no shipping, no backorder. You purchase, download, unzip, and start cutting within minutes.
Our Favorite SVG Bundles for Back to School Season
We have already introduced our top bundles above, but here is a quick summary of why they are the go-to choice for back to school SVG cut files for Cricut users at every skill level.
The 500,000+ Ultimate SVG Mega Bundle is the choice for serious Etsy sellers and prolific crafters who want to never run out of design options. With over half a million files covering every theme imaginable — including hundreds of teacher, school, and education-themed designs — it is the only SVG library you will ever need. Rated 4.96/5 by 26 verified buyers, and at $29.99 total, the math is almost absurd: $0.000059 per file.
The 4000+ Magical Mega SVG Bundle is the smart choice for newer crafters or those who want a high-quality curated library without the overwhelming volume of half a million files. Five stars across 24 reviews, and at $7.99 it is genuinely one of the best craft investments you can make before back to school season kicks off.
Both bundles include commercial use licenses, are compatible with Cricut and Silhouette, and are available as instant downloads. New designs are added to our store weekly, so your library keeps growing even after your initial purchase.
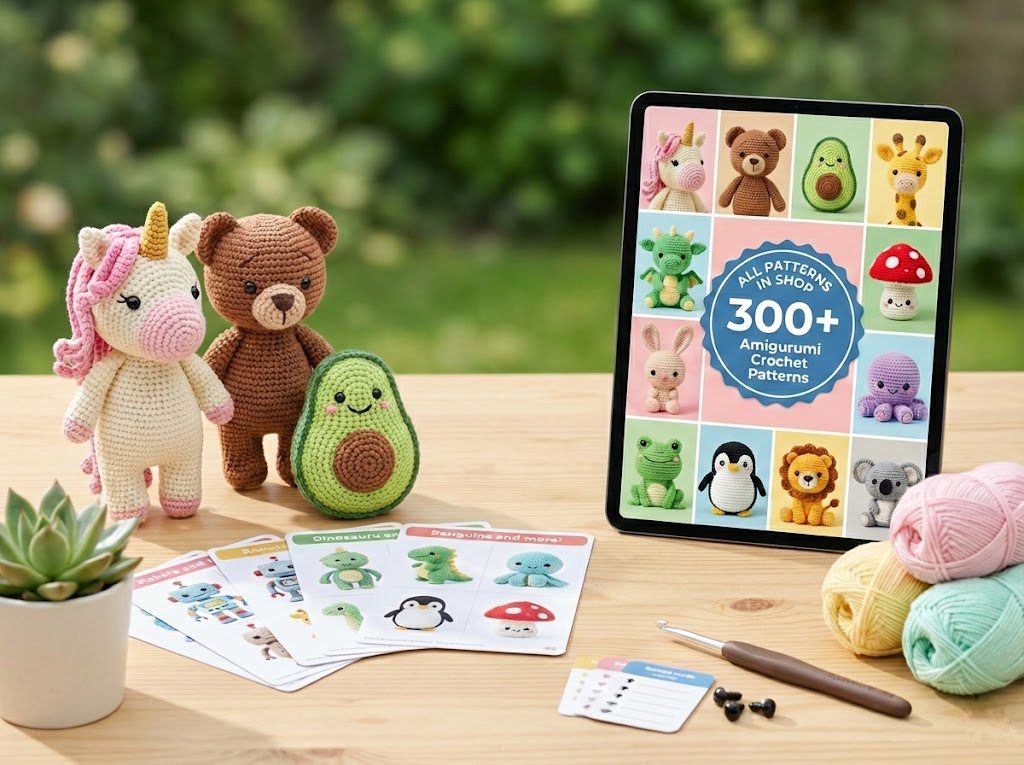
And if you love to mix crafting hobbies, do not forget that BundleArtSVG also offers beautiful crochet patterns and coloring pages — perfect for classroom activity packets or rainy-day crafting when the back to school rush slows down.
Frequently Asked Questions
Can I use back to school SVG cut files for Cricut on a Silhouette machine too?
Yes! SVG files are compatible with Silhouette Studio (Business Edition or higher). Most SVG bundles from BundleArtSVG also include DXF files, which work with all editions of Silhouette Studio including the free version. Just open Silhouette Studio, go to File > Open, and select the DXF file for the same clean cut results.
Do I need a paid Cricut Design Space subscription to use SVG files?
No — you can upload and use your own SVG files in Cricut Design Space with the free account. The paid Cricut Access subscription gives you access to Cricut’s own in-app design library, but it is not required to use SVG files you have downloaded from third-party sources like BundleArtSVG. Your purchased or free SVG files are yours to use without any subscription.
What is the best Cricut machine for back to school SVG projects?
The Cricut Explore 3 is the most popular choice for back to school projects because it cuts HTV, vinyl, and cardstock beautifully and is priced accessibly. The Cricut Maker 3 is the better choice if you regularly cut thicker materials like chipboard for classroom signs or fabric for teacher gifts. Both machines are fully compatible with all SVG files from BundleArtSVG.
Can I sell products I make using BundleArtSVG back to school SVG files?
Yes! Every SVG file from BundleArtSVG includes a commercial use license, which means you can sell finished physical products (like shirts, tote bags, mugs, and decals) made with our designs on Etsy, at craft fairs, or in your own shop. You may not resell the digital SVG files themselves or redistribute them as digital downloads. See our full license terms on the product pages for complete details.
How do I fix a back to school SVG that looks blurry or pixelated after uploading to Design Space?
A blurry or pixelated result almost always means you uploaded a PNG file instead of the SVG file. PNGs are raster images and will pixelate when enlarged. Go back to your unzipped download folder, locate the file with the .svg extension, and upload that file instead. If your download folder only contains a PNG, contact the seller — a properly packaged SVG bundle should always include the actual SVG vector file.