

Blog
Back to School SVG Cut Files for Cricut: Teacher Gifts 2026

Last August, I sat at my craft table the night before school started, staring at a blank tote bag and a pile of iron-on vinyl — completely overwhelmed. I had the supplies, I had the Cricut, but I had no idea where to find back to school SVG cut files for Cricut that were actually cute, properly sized, and ready to cut without hours of fiddling. Sound familiar? You are absolutely not alone.
Whether you are making a heartfelt teacher gift, a personalized pencil pouch, or a first-day-of-school t-shirt for your little one, the right SVG file makes all the difference between a project you are proud of and one that ends up in the recycling bin. This post walks you through everything — from picking the right file format to troubleshooting those frustrating upload errors — so you can craft with confidence this back to school season.
Over 27,000 designs are trusted by thousands of Cricut crafters at BundleArtSVG, and every single one is an instant digital download with a commercial use license included. Let’s dig in.
Best Back to School SVG Designs for Teacher Gifts in 2026
Teacher gifts have evolved way beyond the classic apple-on-the-desk moment. In 2026, personalized handmade gifts are trending harder than ever — and SVG files for Cricut are the secret weapon behind the most gorgeous classroom gifts on the internet.
Here are the back to school SVG categories that are performing best for teacher gifts right now:
- Pencil and apple designs — Classic for a reason. Works beautifully on tote bags, mugs, and t-shirts with HTV vinyl.
- Inspirational teacher quotes — Phrases like “Teaching is a Work of Heart” or “Fueled by Coffee and Dry Erase Markers” cut cleanly and look stunning in layered cardstock or vinyl.
- Personalized name designs — Add a teacher’s name using a coordinating font for a truly custom gift. (More on fonts in a moment.)
- School supply illustrations — Rulers, scissors, crayons, and backpacks make adorable accent designs for gift tags, cards, and mugs.
- Chalkboard-style SVGs — Print-then-cut designs that mimic the look of a chalkboard are incredibly popular for framed prints and wall art.
- Classroom door signs — “Welcome to [Teacher Name]’s Class” signs in layered cardstock are a showstopper that teachers keep for years.
The best part? When you grab a bundle with thousands of files, you get all of these categories and more for a tiny fraction of what individual files would cost. Speaking of which…
500,000+ Ultimate SVG Mega Bundle
Only $29.99
4.96/5 stars from 26 reviews — the most complete SVG library for Cricut crafters. Just $0.000059 per file.
At just $0.000059 per file, the 500,000+ Ultimate SVG Mega Bundle is genuinely the most cost-effective way to stock your craft library for every season — back to school, Halloween, Christmas, and everything in between. New designs are added weekly, so your library keeps growing after purchase.
SVG vs PNG vs DXF: Choosing the Right File Format for Cricut
This is one of the most confusing topics for newer Cricut crafters, and it is something most other blogs completely gloss over. Let’s fix that right now.
SVG (Scalable Vector Graphics)
SVG is the gold standard for Cricut cutting projects. It is a vector format, which means it scales to any size without losing quality. When you upload an SVG to Cricut Design Space, it preserves all the individual layers, colors, and cut lines. For back to school SVG cut files for Cricut, this is almost always the format you want.
PNG (Portable Network Graphics)
PNG files are raster images — they are made of pixels, not mathematical paths. They work great for Print-then-Cut projects in Cricut Design Space, like printing a detailed chalkboard design on sticker paper and then having your Cricut cut around the printed image. However, PNG files do not carry layer information, so they are not ideal for multi-layer vinyl cuts.
DXF (Drawing Exchange Format)
DXF is a format originally designed for CAD software. Cricut Design Space does support DXF, but it often strips color information and can behave unpredictably with complex designs. Silhouette Studio handles DXF very well, making it a solid choice if you are a Silhouette user. For Cricut, stick with SVG whenever possible.
Quick Reference Chart:
- Cutting vinyl on Cricut → Use SVG
- Print-then-Cut stickers or labels → Use PNG (300 DPI minimum)
- Silhouette Studio cutting → SVG or DXF both work well
- Sublimation or iron-on prints → PNG at 300 DPI
- Layered cardstock projects → SVG (preserves every layer)
How to Download and Unzip Your SVG Files
Step 1: Complete Your Purchase and Access Your Download
After purchasing from BundleArtSVG, you will receive an instant download link via email and in your account dashboard. Click the download button and save the ZIP file to a location you will remember — your Desktop or a dedicated “Cricut Files” folder works perfectly.
- Do not try to open the ZIP file directly in Cricut Design Space — it will not work.
- On a phone or tablet, use a file manager app like Files by Google or the native Files app on iPhone to handle ZIP extraction.
- Create a folder structure like: Cricut Files → Back to School → Teacher Gifts to keep things organized long-term.
Step 2: Unzip Your Downloaded File
Your SVG files arrive in a compressed ZIP folder to keep the download size manageable. You must extract (unzip) this folder before you can use the files. On Windows, right-click the ZIP file and select “Extract All.” On Mac, simply double-click the ZIP file and it will extract automatically into a new folder.
- Windows users: Right-click → “Extract All” → choose your destination folder → click “Extract.”
- Mac users: Double-click the ZIP file. A new folder with the same name appears right next to it.
- iPad/iPhone users: Tap the ZIP file in the Files app → it extracts automatically into the same folder.
- After extracting, you should see individual SVG files (and possibly PNG, DXF, and EPS versions) inside the new folder.
How to Upload SVG Files into Cricut Design Space
Step 3: Upload Your SVG to Cricut Design Space
Open Cricut Design Space on your computer or iPad. Click “New Project” to open a blank canvas. On the left-hand panel, click the “Upload” button (it looks like a cloud with an arrow). Click “Upload Image,” then “Browse” and navigate to your unzipped SVG file. Select it and click “Open.”
- Cricut Design Space will recognize SVG files automatically as “Complex” cut files — no background removal needed.
- You will see a preview of your design with all layers intact. Click “Upload” to add it to your library.
- Your uploaded design now lives in “My Uploads” and can be used in any future project — you only need to upload once.
- If the design appears as a flat image without layers, double-check that you uploaded the SVG file and not the PNG version.
For a deeper dive into working with SVG files in Design Space, check out our Ultimate Guide to SVG Files for Cricut — it covers everything from canvas setup to print-then-cut workflows.
How to Use Your Back to School SVG in a Cricut Project
Step 4: Size, Position, and Prepare Your Design for Cutting
Once your SVG is on the canvas, click on it to select it. Use the lock icon (the padlock in the top-left corner of the selection box) to maintain proportions as you resize. For teacher gift projects, here are recommended sizing guidelines that work beautifully:
- Tote bag design: 8–10 inches wide for a centered chest placement.
- Coffee mug wrap: 3.5 inches tall × 8.5 inches wide for a standard 11 oz mug.
- T-shirt design (adult): 9–11 inches wide, centered about 3 inches below the neckline.
- Gift tag: 2.5 × 4 inches — perfect for layered cardstock with a punched hole at the top.
- Classroom door sign: 10–12 inches wide on cardstock for maximum visibility.
- After sizing, click “Make It” — Cricut Design Space will show you a mat preview with each color layer on a separate mat.
4000+ Magical Mega SVG Bundle
Only $7.99
5.00/5 stars — 4,000+ designs for just $0.002 per file.
Tips for Cutting and Layering Back to School Designs
Getting a clean cut is where the magic happens — and where frustration can sneak in if you are not using the right settings. Here is what works for the most popular back to school SVG cut files for Cricut projects:
Material Settings for Common Back to School Projects
- Smooth HTV (Heat Transfer Vinyl): Use the “Everyday Iron-On” setting. Mirror your design before cutting. Cut with the shiny side down on your mat.
- Glitter HTV: Use “Glitter Iron-On” setting. Increase pressure by 1–2 steps if edges are not cutting cleanly. Glitter HTV is thicker and needs more blade pressure.
- Adhesive Vinyl (for mugs, tumblers): Use “Vinyl” setting. No mirroring needed. Use transfer tape to move your design cleanly.
- Cardstock (65 lb): Use “Cardstock” setting. If your Cricut is not cutting all the way through, try “Cardstock — Heavy” and increase pressure by 2.
- Sticker paper (Print-then-Cut): Use “Sticker Paper — Matte” or “Printable Vinyl” depending on your material brand.
Layering Tips for Multi-Color Designs
Many back to school SVG cut files for Cricut come with multiple color layers — for example, a pencil design might have a yellow body, a pink eraser, a silver tip, and a black outline. Here is how to layer like a pro:
- Cut each color layer separately. Cricut Design Space automatically separates layers by color onto individual mats.
- Start with your base layer (usually the largest or lightest color) and work from background to foreground.
- Use a brayer or scraper tool to press each layer down firmly before adding the next — this prevents bubbles and misalignment.
- For cardstock layering, use a foam adhesive square between layers to create a 3D pop-up effect that looks incredible on teacher gift cards.
- Use registration marks (small corner triangles) if your design includes them — they help you align layers perfectly every time.
Creative Back to School Project Ideas Beyond the Basics
Most blogs stop at “here are some free files.” But you came here for real inspiration — so let’s talk about specific, creative projects that will make teachers, parents, and kids absolutely love what you make.
Personalized Teacher Gift Ideas
- Custom tumbler: Apply a layered vinyl design with the teacher’s name and a “Best Teacher” sentiment to a 40 oz tumbler. Add a matching keychain using cardstock and laminate.
- Teacher tote bag: Iron a back to school SVG design onto a canvas tote. Fill it with classroom supplies — dry erase markers, sticky notes, and a gift card. The bag itself becomes part of the gift.
- Personalized pencil holder: Wrap a glass jar with adhesive vinyl cut from a back to school SVG. Add the teacher’s name with a script font for a polished, professional look.
- Framed classroom print: Use Print-then-Cut to create a chalkboard-style “Mrs. Johnson’s Class 2026” print. Frame it in an 8×10 frame from the dollar store. Total cost: under $5. Impact: priceless.
- First day of school banner: Cut individual pennant shapes from cardstock using a back to school SVG banner file. String them together with twine for a classroom decoration the teacher can reuse every year.
First Day of School Keepsakes for Kids
- First day shirt: Iron a grade-level design (“Hello Kindergarten!” or “First Grade Rocks”) onto a plain t-shirt. Use HTV in school colors for extra personalization.
- Personalized backpack tag: Cut a luggage tag shape from acrylic or thick cardstock, apply a vinyl name design, and laminate. Attach with a carabiner clip.
- Lunchbox label set: Use adhesive vinyl to cut name labels and fun back to school icons for lunchboxes, water bottles, and supply boxes.
Print-then-Cut Variations Worth Trying
Print-then-Cut opens up a whole new world for back to school SVG cut files for Cricut. Instead of cutting solid vinyl shapes, you print a full-color design on your home printer and then let Cricut cut precisely around the printed image.
- Print personalized bookmarks on cardstock — add a teacher’s name and a motivational quote.
- Create sticker sheets with school supply icons for kids to decorate their notebooks and folders.
- Make printable reward coupons for teachers (“Homework Pass,” “Extra Recess”) with a fun illustrated border.
You can also explore our coloring pages collection for printable classroom activities that pair perfectly with your Cricut projects — teachers love receiving a bundle of themed coloring pages alongside a handmade gift.
Pairing your back to school SVG cut files for Cricut with a beautiful font takes every project from “cute” to “wow.” Our 45 Elegant Fonts for Cricut bundle is rated 5.00/5 stars and gives you gorgeous script and serif options for personalizing teacher names, grade levels, and sentiments — all for just $0.99, which works out to $0.022 per font.
Troubleshooting Common Cricut Upload and Cutting Errors
Even experienced crafters run into issues. Here is a straightforward troubleshooting guide for the most common problems with back to school SVG cut files for Cricut:
Problem: SVG Uploads as a Flat Image (No Layers)
Cause: You may have accidentally uploaded a PNG or JPEG instead of the SVG file, or the SVG file was not properly extracted from the ZIP folder.
Fix: Go back to your unzipped folder and confirm you are selecting the file with the .svg extension. Re-upload and choose “Complex” when prompted about the image type.
Problem: Design Looks Correct but Cuts in the Wrong Place
Cause: The design may have a large invisible bounding box, or your mat alignment is off.
Fix: In Design Space, click “Attach” to lock all layers together before sending to cut. Also, make sure your material is firmly adhered to the mat with no lifting corners.
Problem: Missing Layers After Upload
Cause: Some SVG files use grouped objects or clipping masks that Cricut Design Space does not interpret correctly.
Fix: If you have access to Adobe Illustrator or Inkscape (free), open the SVG, select all, and use “Ungroup” and “Expand” to flatten any clipping masks. Re-save as SVG and re-upload. All BundleArtSVG files are tested for Cricut compatibility, so this issue is rare with our designs.
Problem: Design Not Cutting All the Way Through
Cause: Blade pressure is too low, blade is dull, or material is thicker than expected.
Fix: Increase pressure by 2–3 steps in the material settings. If the problem persists, replace your blade — Cricut blades should be replaced every 3–6 months with regular use. Also, ensure your material is fully flat on the mat with no bubbles.
Problem: Vinyl Tears When Weeding
Cause: Cut pressure is too high, or the design has very thin, intricate details that are difficult to weed from the chosen vinyl type.
Fix: Reduce pressure by 1–2 steps. For very detailed back to school SVG cut files for Cricut, use a premium vinyl brand (Oracal 651 or Siser EasyWeed) which weeds much more cleanly than budget vinyl. Chill the mat in the refrigerator for 5 minutes before weeding — this firms up the vinyl and makes thin pieces easier to remove.
Problem: Colors Look Different on Screen vs. Final Project
Cause: Screen colors are RGB while printed/cut materials are physical. Vinyl colors will never match your screen exactly.
Fix: Use physical vinyl color swatches (most vinyl brands have free swatch cards) to select your colors before cutting. For Print-then-Cut projects, calibrate your printer and use the Cricut Design Space color profile for best results.
For more design inspiration and free files to practice with, browse our collection of free SVG downloads — perfect for testing your machine settings before committing to a big gift project.
🎁 Get FREE Designs Today!
Perfect for testing with your Cricut or Silhouette machine before committing to a paid bundle.
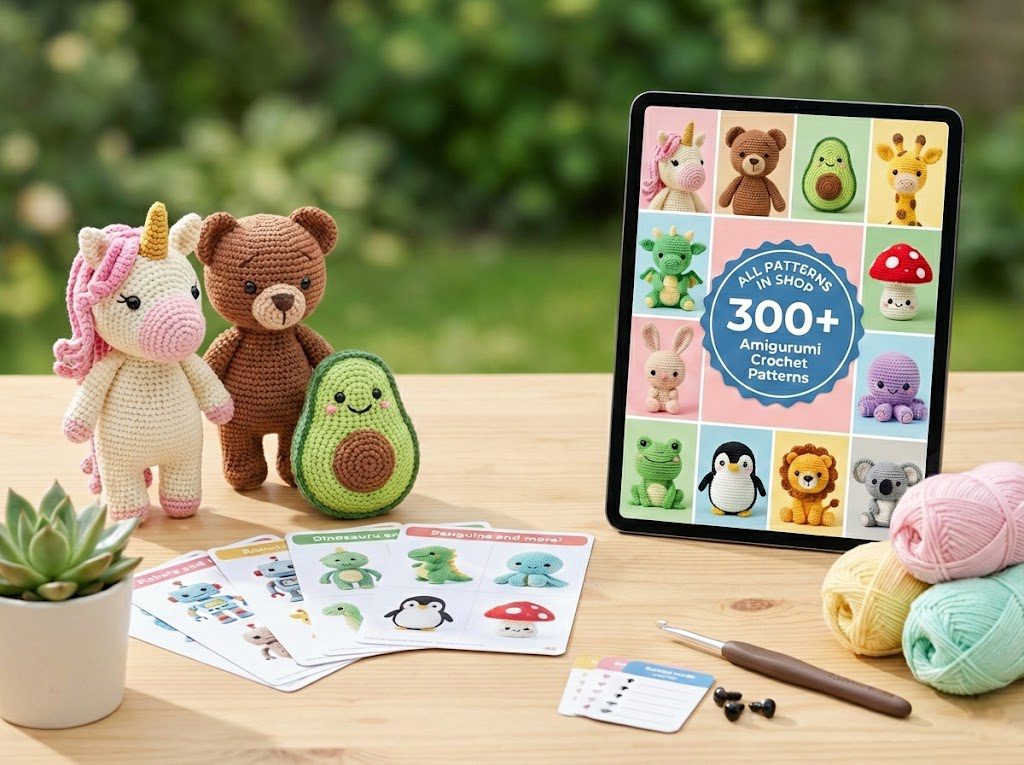
Want to explore even more seasonal and themed designs? Our full library of SVG files for Cricut is organized by category so you can find exactly what you need in minutes. And if you are into crochet alongside your Cricut crafting, our crochet patterns collection has over 300 amigurumi and beginner-friendly designs that make amazing teacher gifts too.
Frequently Asked Questions
What are back to school SVG cut files for Cricut?
Back to school SVG cut files for Cricut are vector-based design files in the SVG format that you upload to Cricut Design Space and use to cut shapes, text, and layered designs from vinyl, cardstock, iron-on, and other materials. They are specifically designed to work with Cricut Explore, Cricut Maker, and Cricut Joy machines. Common back to school designs include teacher quotes, school supply illustrations, grade-level text, and personalized name designs for gifts and keepsakes.
Can I use back to school SVG files commercially to sell on Etsy?
It depends on the license that comes with your SVG files. All designs purchased from BundleArtSVG include a commercial use license, which means you can use them to create physical products to sell on Etsy, at craft fairs, or in your own shop. You cannot resell the digital SVG files themselves. Always check the license terms before selling products made with any SVG file — this protects you legally and supports the original designers.
Why won’t my SVG file upload correctly to Cricut Design Space?
The most common reasons an SVG file fails to upload correctly to Cricut Design Space are: (1) you are trying to upload the ZIP file instead of the extracted SVG file inside it — always unzip first; (2) you accidentally selected a PNG or DXF file instead of the SVG; (3) the SVG contains clipping masks or unsupported elements that need to be simplified in a program like Inkscape. BundleArtSVG designs are pre-tested for Cricut compatibility to minimize these issues.
What materials work best for teacher gift projects with back to school SVG cut files?
For teacher gifts, the most popular materials are smooth HTV (heat transfer vinyl) for fabric items like tote bags and t-shirts, adhesive vinyl for hard surfaces like mugs and tumblers, and 65 lb cardstock for layered cards, gift tags, and framed prints. Glitter HTV adds a festive touch to any design and is a huge hit for teacher appreciation projects. For Print-then-Cut designs like chalkboard-style prints, use matte sticker paper or printable vinyl on a standard inkjet printer.
How many SVG files do I get in the BundleArtSVG back to school bundles?
BundleArtSVG offers bundles ranging from the 4,000+ Magical Mega SVG Bundle at $7.99 (just $0.002 per file) to the 500,000+ Ultimate SVG Mega Bundle at $29.